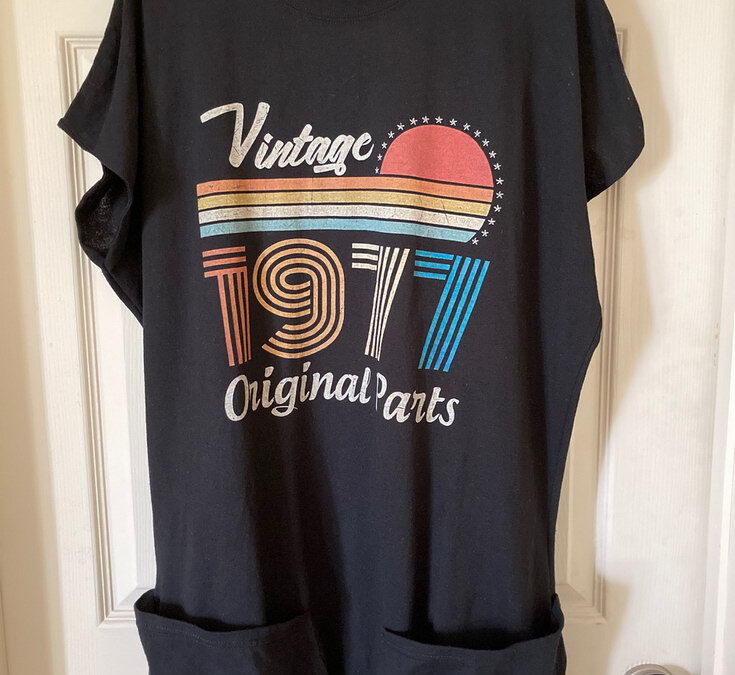
Recently, one of my favorite (but expensive) tshirt brands had another of their coveted, surprise-clearances where they always sell out and always before I catch on. This time, however, there were a few shirts left in size 4x. I’m a M/L but the price was too good to pass up, what could I do…….. I smiled and bought it quickly before they too sold out. My only regret is not buying more!
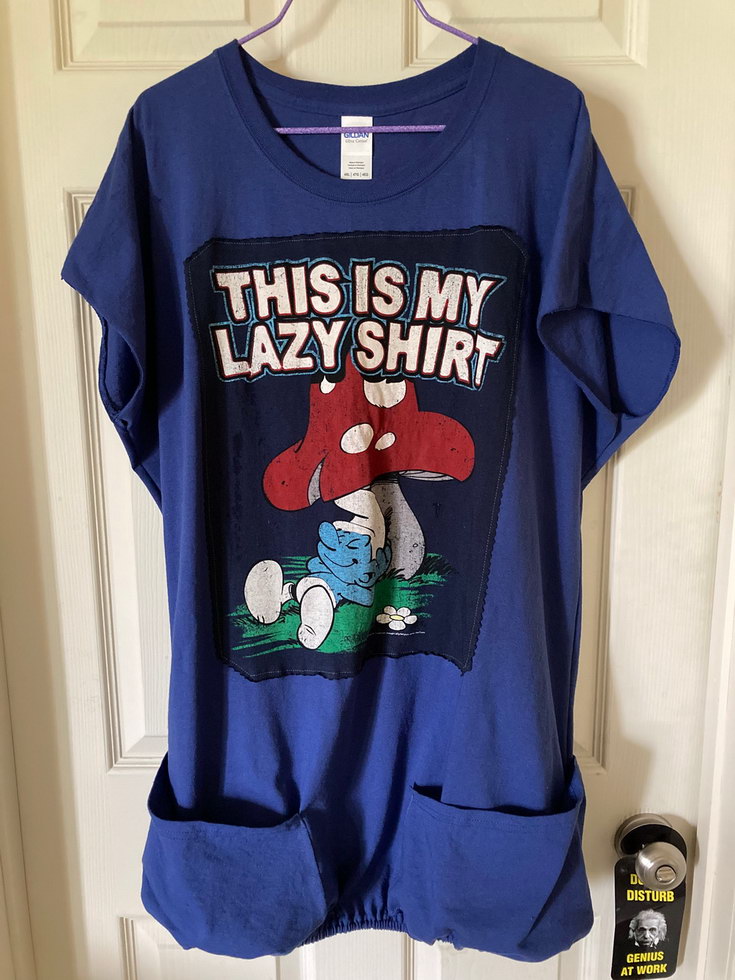
I could wear the shirt oversized, it’s trending but why not go an extra mile and make it special, even functional? Instead of an ordinary tshirt, I decided to convert it into a shirtdress with, and most importantly, Pockets!
I’d rate this level 3~4 craft skills – you will need a loop turner; very inexpensive and easy to find just not a common household item. Other than that, it’s a simple process that doesn’t require a sewing machine but much quicker if you use one.
Tools Required:
Scissors
Sewing chalk, pins or clips
Needle & thread or sewing machine
loop turner
elastic (foldover elastic recommended)
Scissors
Sewing chalk, pins or clips
Needle & thread or sewing machine
loop turner
elastic (foldover elastic recommended)
Tip: Always try on the garment first to better gauge where you should cut the fabric. Mark these areas with chalk, pins or clips. I recommend choosing a shirt at least 2-3 sizes larger.
Turn the shirt wrong side out so the raw seams are visible. Cut the sleeves at the shoulder seamline, leaving the actual seam on the body of the shirt.
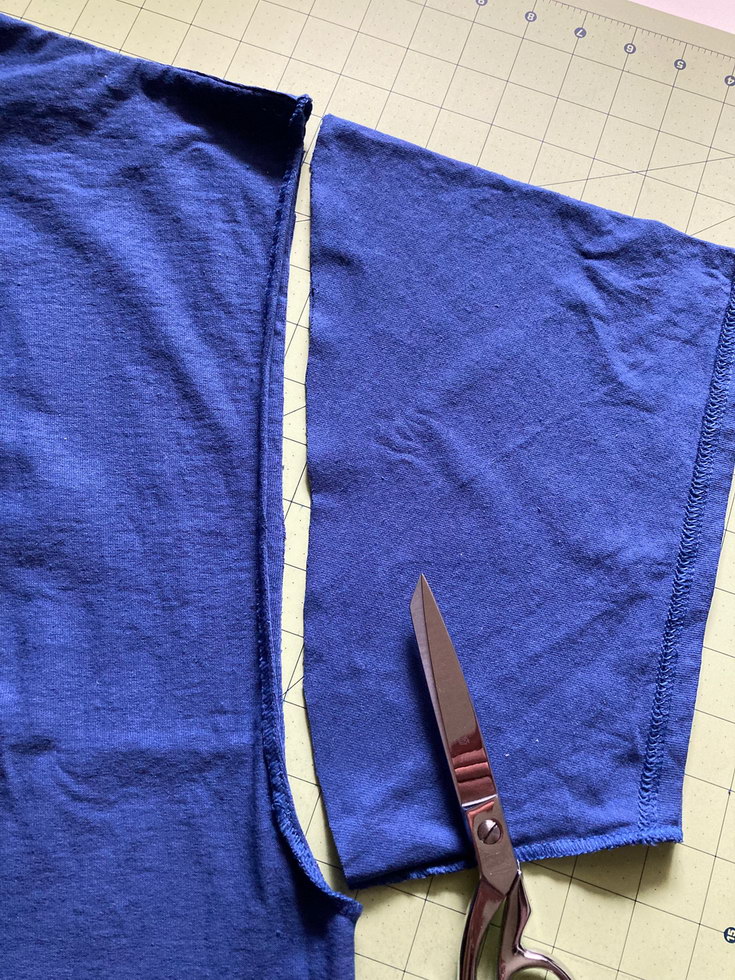
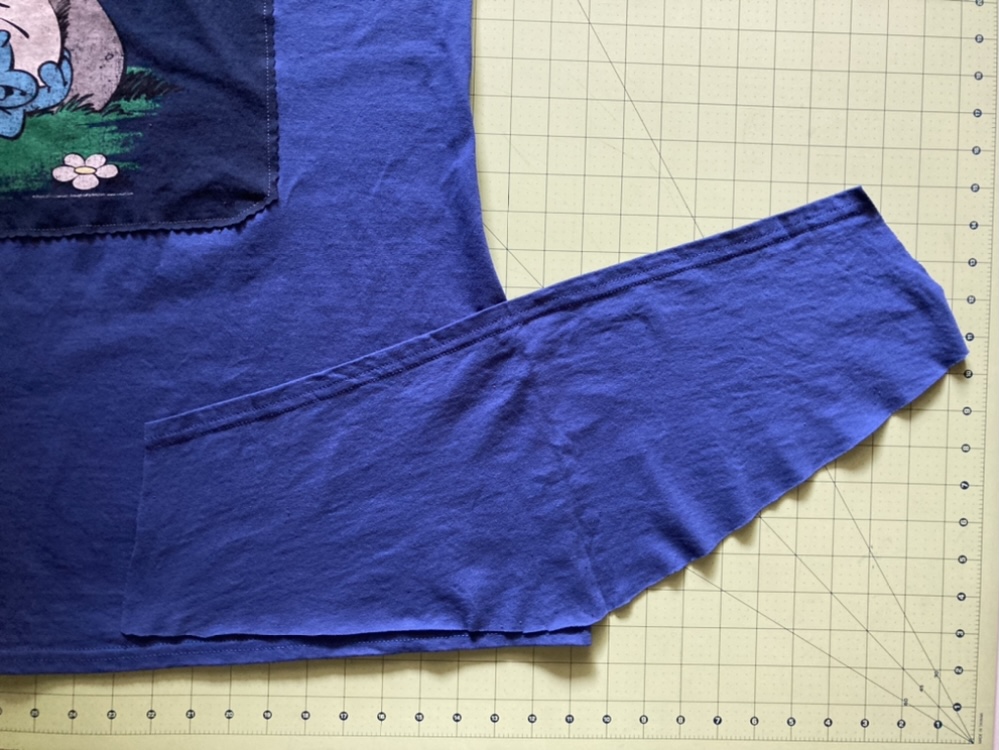
Then cut off the underarm seam of the sleeve.
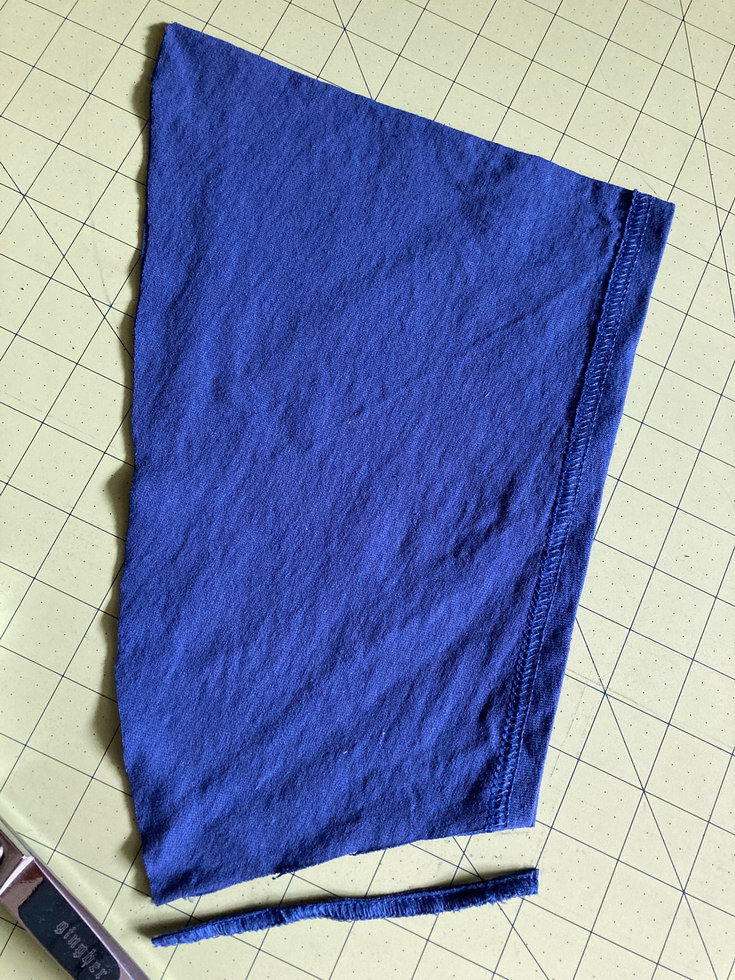
Even the raw edges
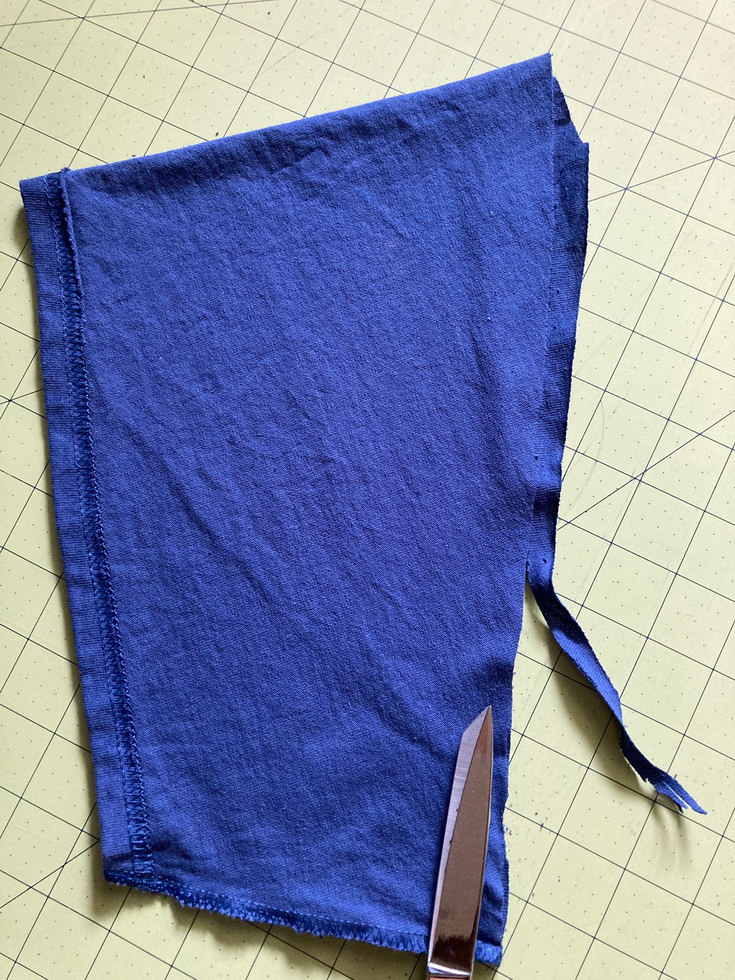
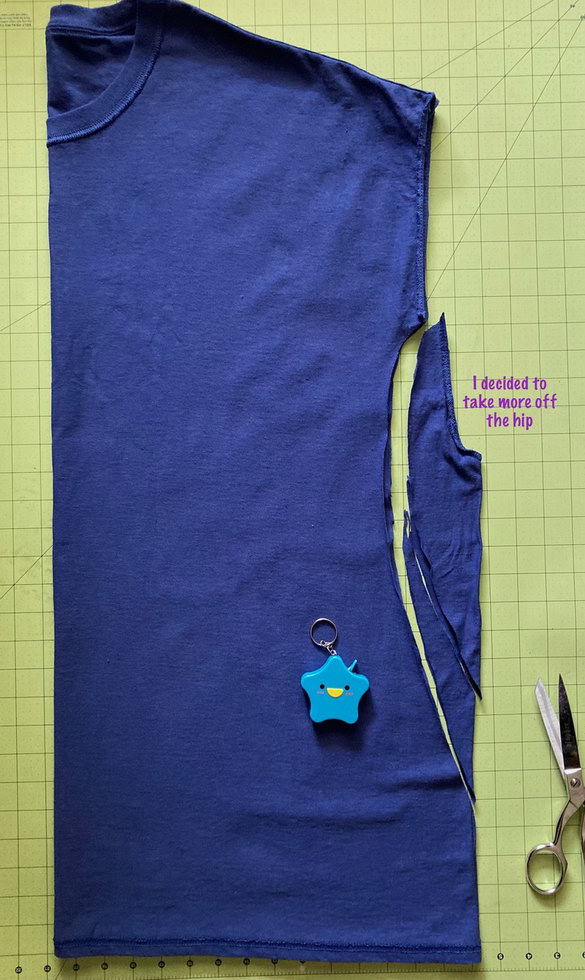
The next step is optional but recommended: For a more defined shape, take in the sides. If you’re unsure how much to take in, try on the garment and mark those areas. Notice I also shortened the armhole. This is also optional.
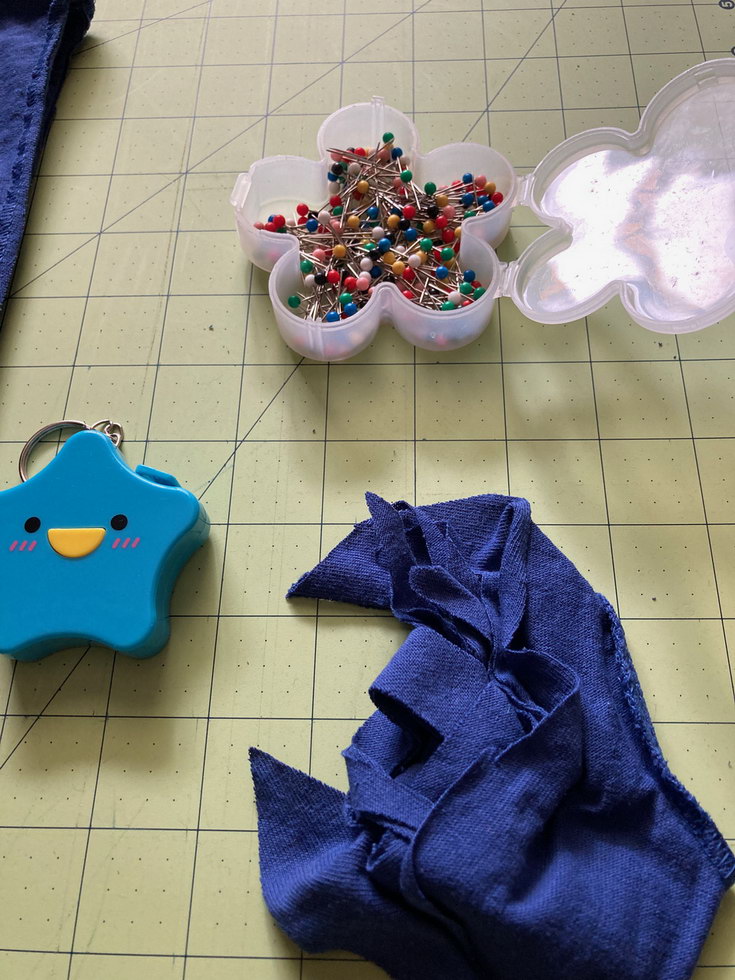
Tip: Cutting fabric often produces lots of fine lint. Use the cut, throw-away pieces of fabric as a quick and efficient cleanup. Wear a mask for hypoallergenic concerns.
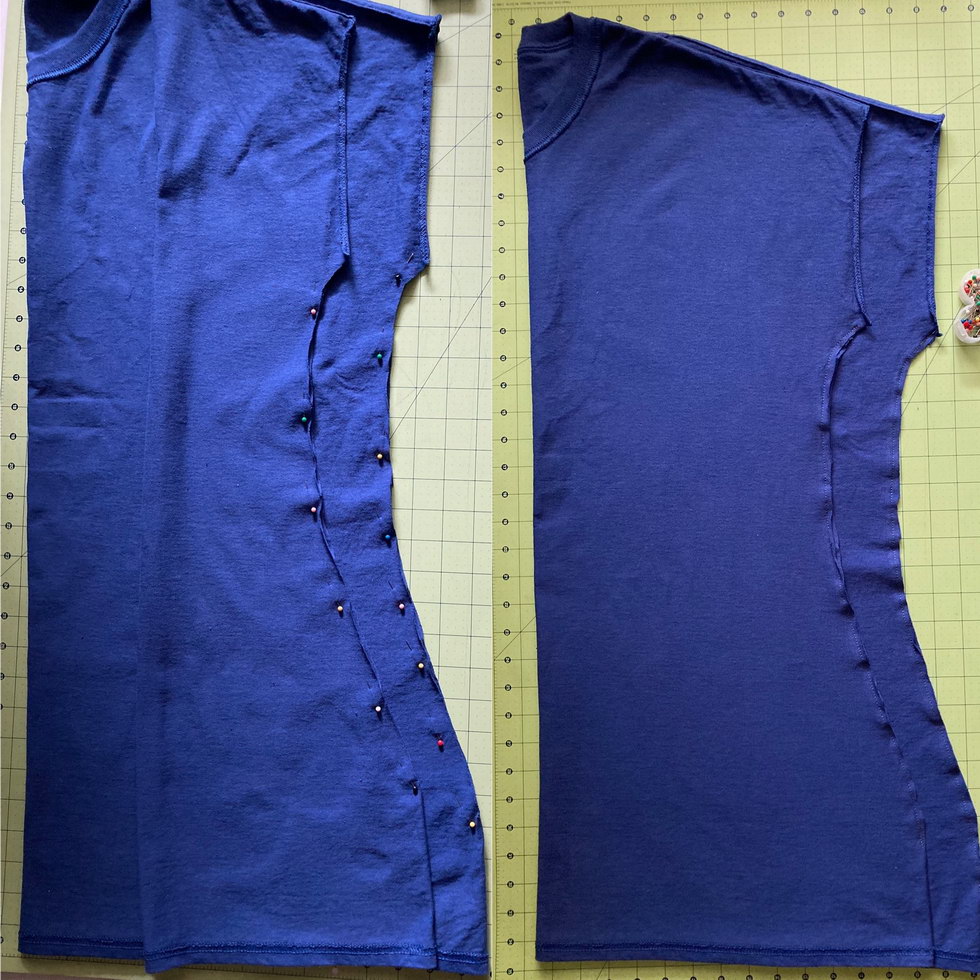
Now pin each side along the waistline – then stitch. Remember to reinforce your stitches – beginning and ends.
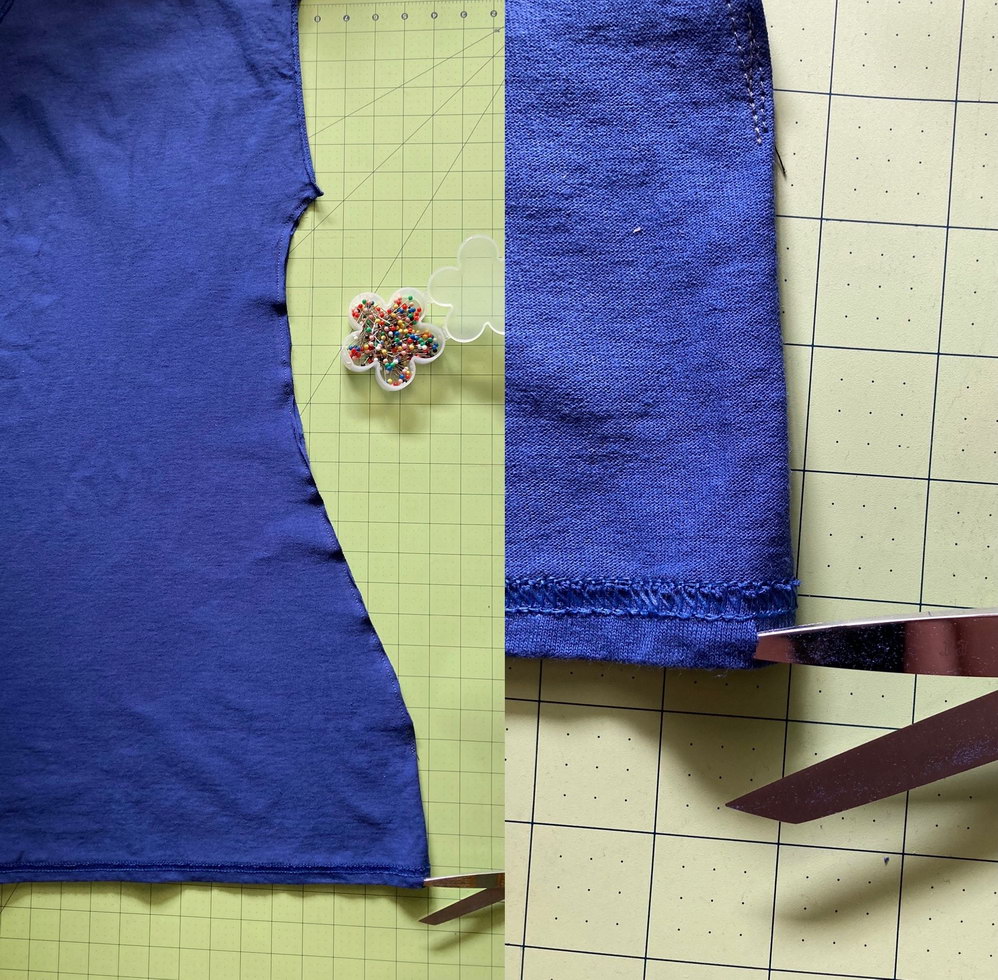
To create the elastic casing, cut a small slit along the length of the hem, 1 on each side. We’ll feed the elastic through the casing later.
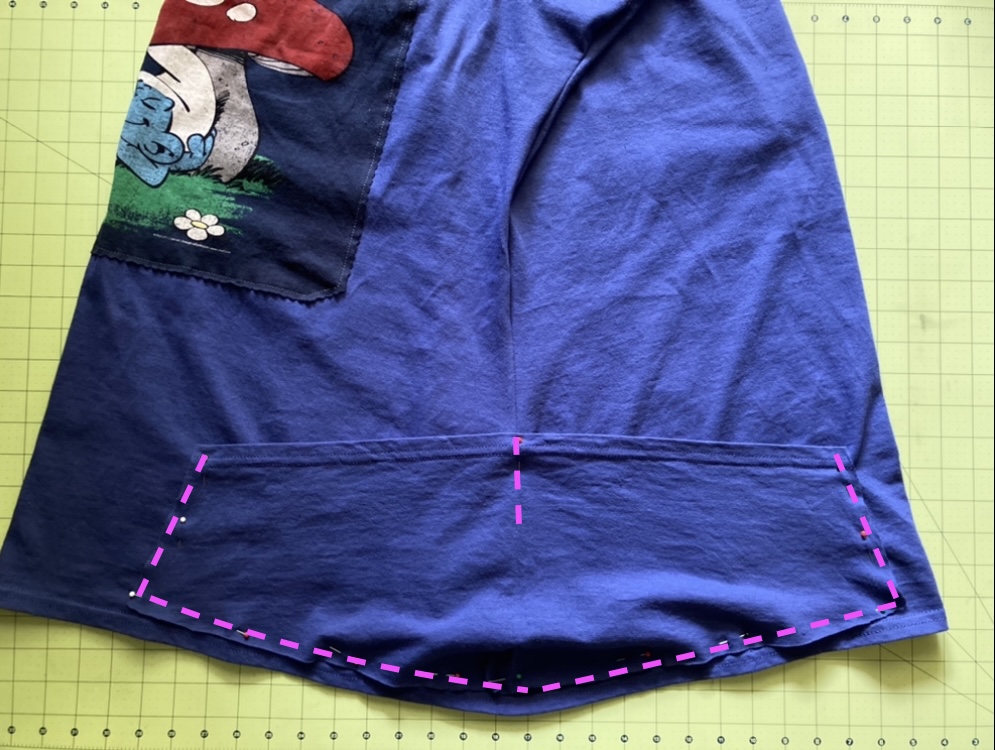
To create the pockets, turn the shirt right side out. The cut sleeves will now serve as pockets; align and pin them equally on both sides, front to back. Notice the cuff is now the top edge.
Stitch along the dotted lines. Be careful to stitch above the casing and Remember to reinforce your stitches – beginning, corners and ends!
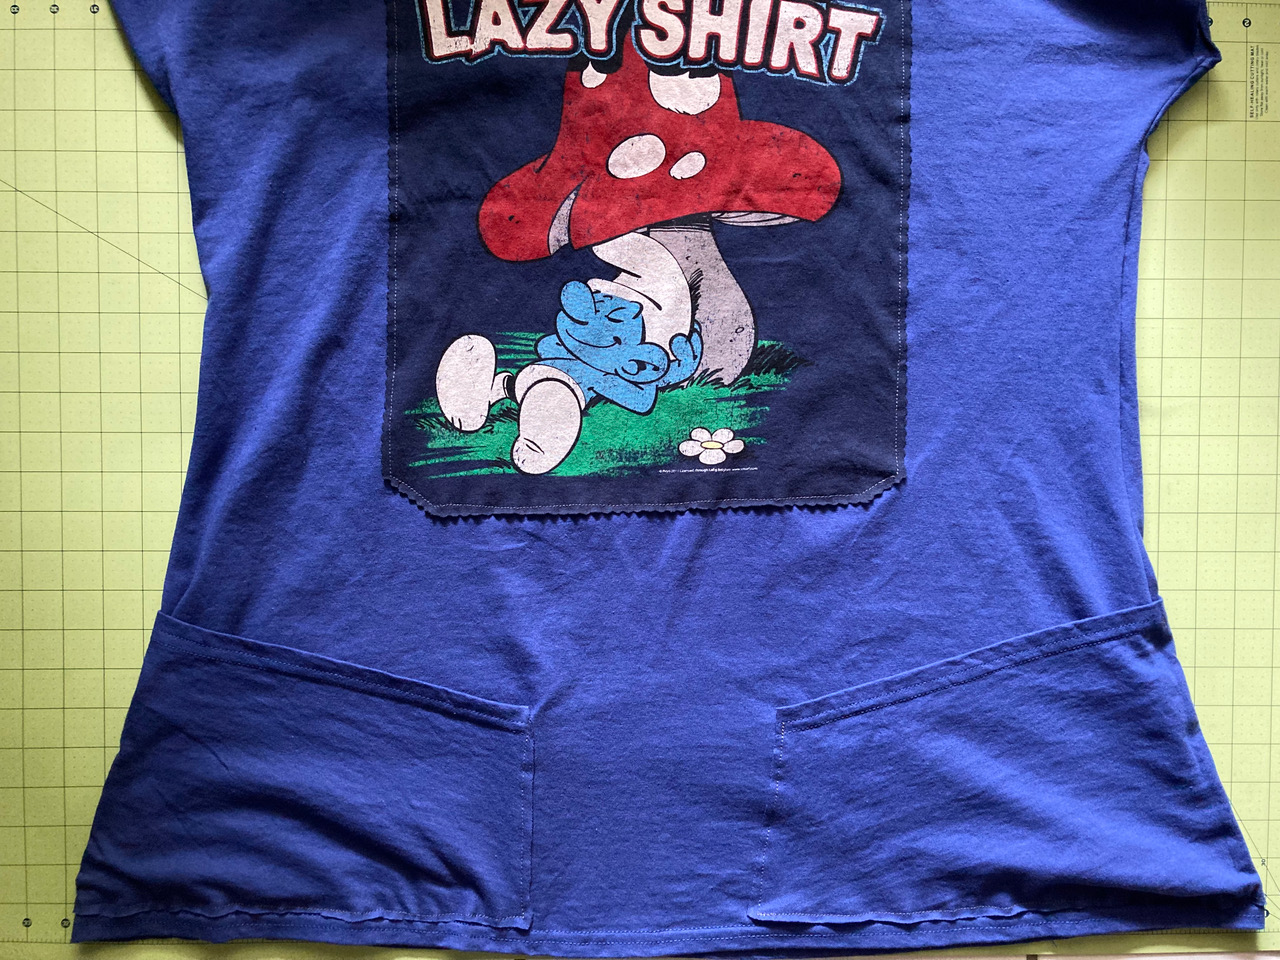
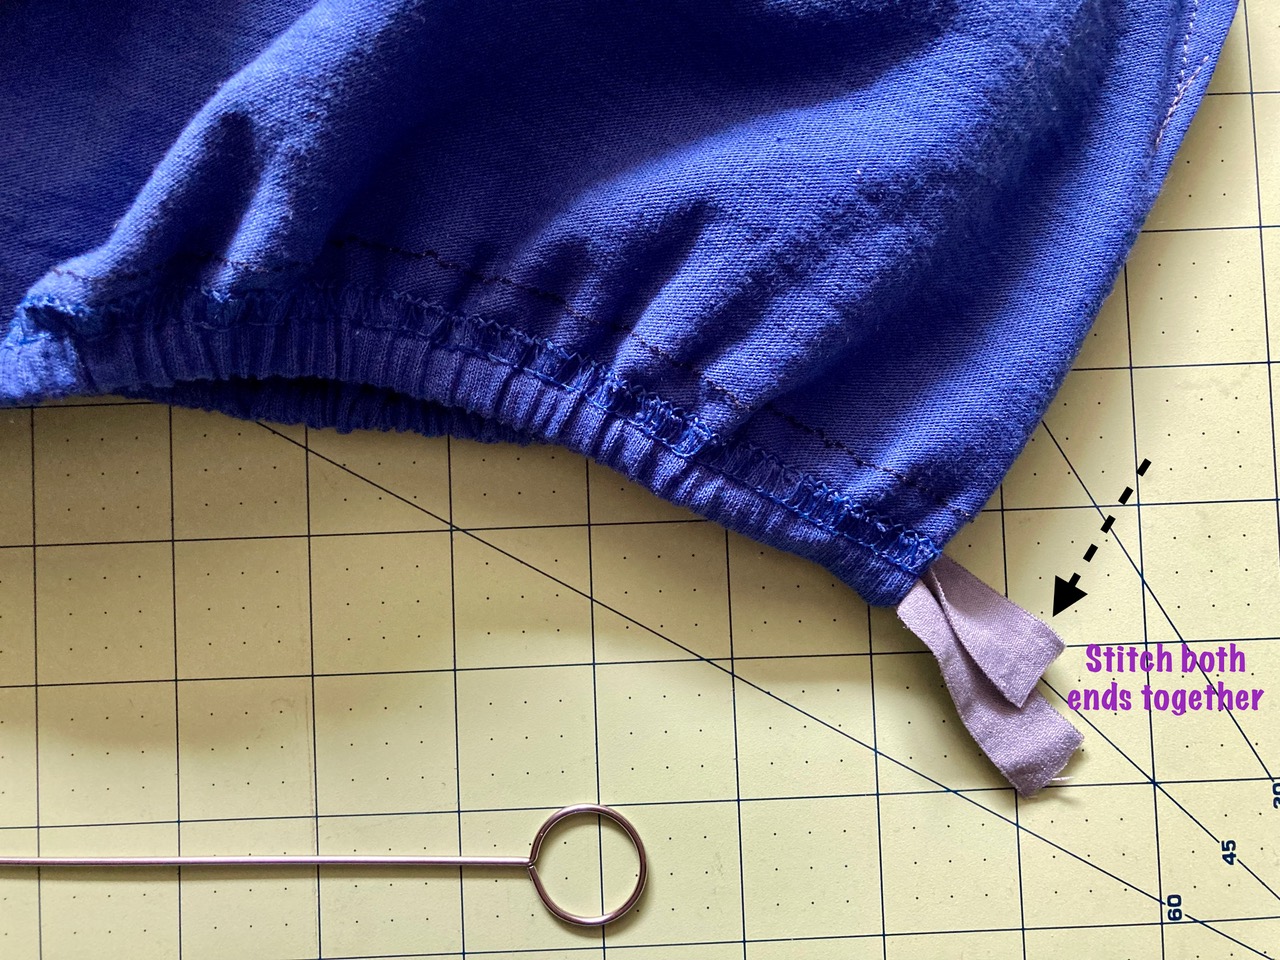
Now turn the shirt wrong side out and use the loop turner to feed the elastic through the casing.
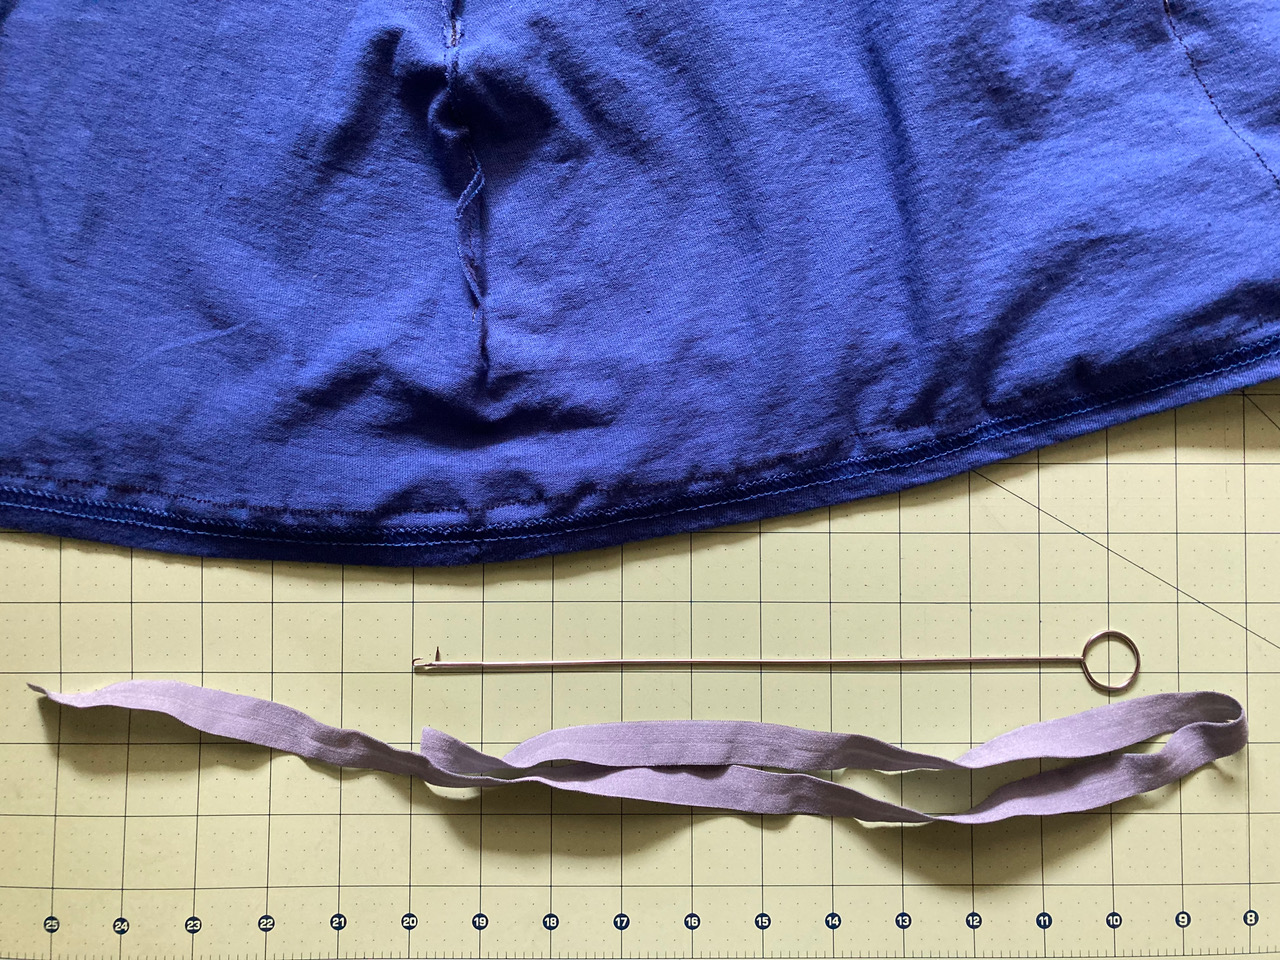
(Visit the link in the bio for info on foldover elastic and instructions on how to use a loop turner)
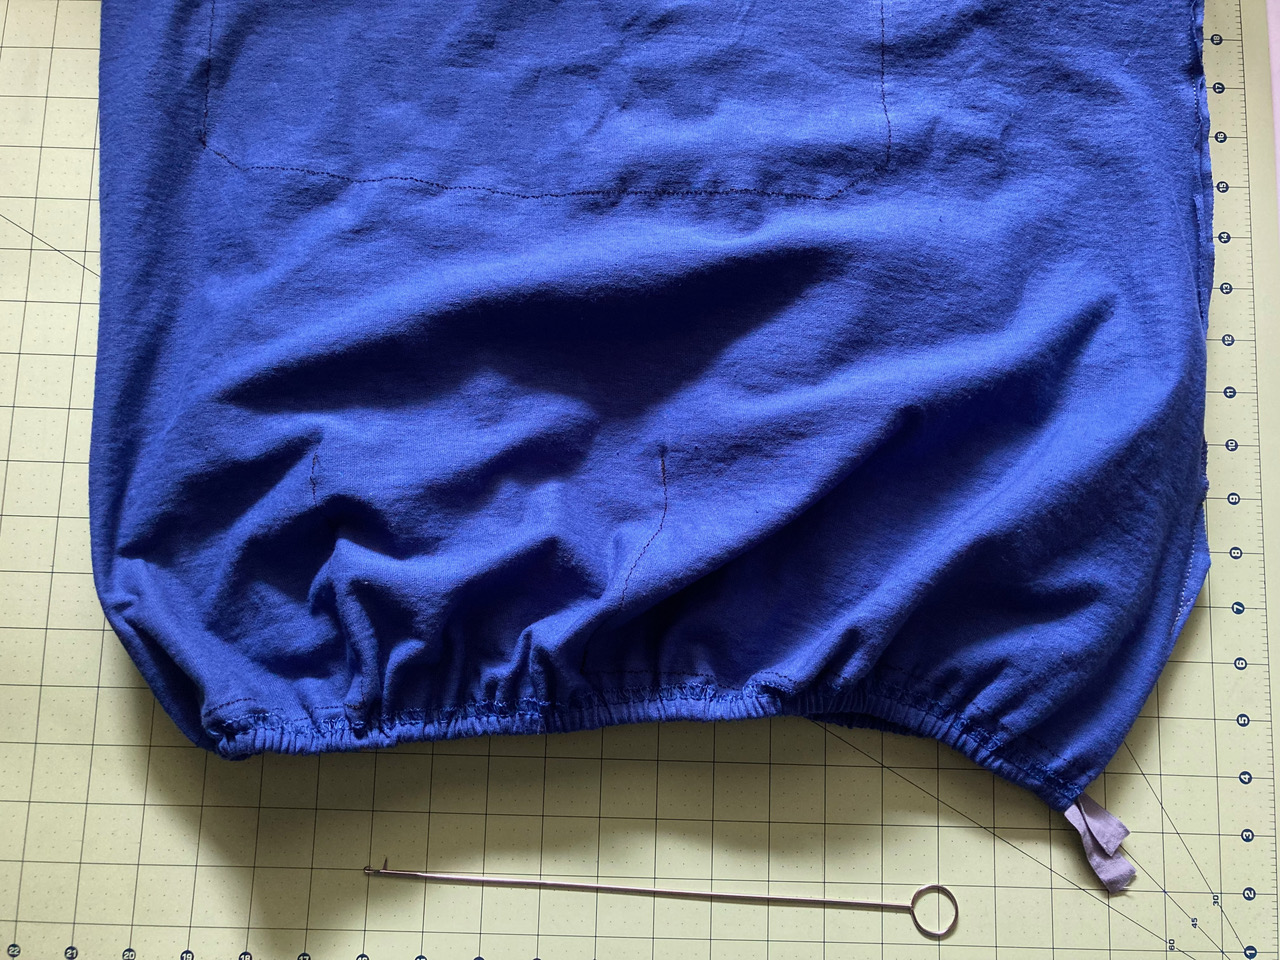
Stitch both elastic ends together – Reinforce your stitches!
Please feel free to share your experiences,
ask questions or offer feedback! perigeepixie.wixsite.com/
I’m Honored to be a contributing member of this community – Annie is a Marvel


Cocoa Chanvre
Cocoa Chanvre is a fashion & crafts enthusiast and a devout follower of astrology
Visit her at perigeepixie.wixsite.com/

